A scarf looks like an easy first crochet project: it’s a rectangle, and you can make it with one stitch. It’s also a lot of rectangle. If you’re learning where to put the hook and how tightly to hold the yarn, a small square will teach you the same skills without asking you to repeat them for several feet.
Start with a smooth yarn, one hook that suits it, and a project worked back and forth in rows. You don’t need to master every stitch before making something useful. You need to see each stitch clearly enough to find the next one.
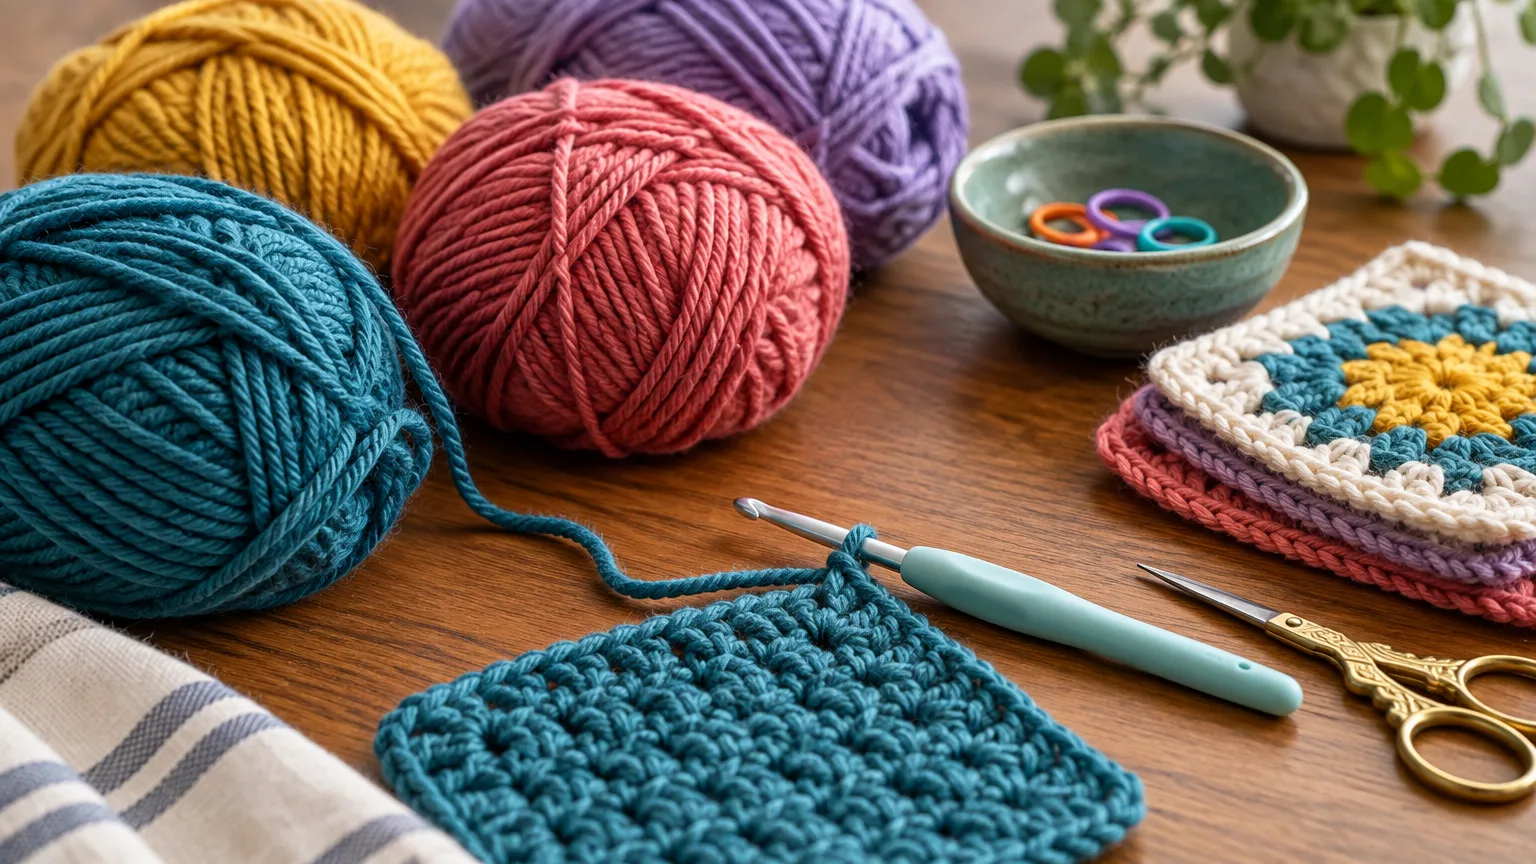
Pick a project you can finish while you’re learning
A first project should have straight edges, no shaping, and no seams. A practice square is the easiest choice. Make it in cotton and it can become a coaster for a cool drink; keep going until it’s larger and it can become a dishcloth. A scarf is a reasonable next project once you’re comfortable repeating rows, but it takes more yarn and more time.
Before choosing a pattern, read its first few lines. Look for rows of a single stitch, a yarn weight you can find easily, and a stitch count given at the end of each row. Patterns with circles, color changes, or instructions to increase and decrease can wait. None is especially hard on its own; learning them all while you’re still trying to spot the last stitch of a row makes the first project harder than it needs to be.
Buy yarn you can see and a hook that fits it
For a practice piece, choose a smooth, solid-colored yarn labeled medium or category 4, often called worsted weight. A light blue, green, or other medium-light color makes it easier to see the small V at the top of each stitch. Black yarn, fuzzy yarn, and heavily textured yarn make counting harder. Smooth acrylic is a practical choice for practice or a first scarf; choose cotton if you want to use your square as a dishcloth.
The number 4 describes the yarn’s thickness category, not its weight on a scale. The Craft Yarn Council’s yarn-weight guide gives 5.5 to 6.5 mm as a general crochet-hook range for medium yarn. That’s a guide, not a rule for every skein: check the suggested crochet-hook size on the yarn label, and use the hook specified by a pattern when you’re following one.
If you’re shopping without a pattern, a 5.5 mm hook—usually marked US I-9—is a sensible starting point for medium yarn whose label recommends it. Buy just that hook, one skein, scissors, and a blunt yarn needle for hiding the ends. You can add sizes later if a project calls for them.
Check the label for yardage, fiber content, and care instructions before you buy. If a pattern needs more than one skein, get enough in the same color and dye lot; different dye lots can show subtle color differences. For a small practice piece, there’s no need to stock up.
Learn the chain and single crochet
Crochet patterns use abbreviations, but you need only two to start: ch means chain, and sc means single crochet in US pattern terminology. The yarn attached to the skein is the working yarn.
Make a slip knot and put its adjustable loop on the hook. Hold the hook in whichever hand feels natural. With the other hand, support the knot and guide the working yarn. Wrap the yarn over the hook from back to front—called a yarn over—and pull it through the loop already on the hook. You’ve made one chain. Repeat, moving your supporting fingers along the growing chain as needed. The slip knot and the loop on the hook aren’t counted as chains.
Chains should be loose enough to get the hook into them later. If you have to force the hook through, undo a few and try again. Don’t pull each new loop tight against the narrow tip of the hook; let it sit on the wider part of the shaft as you form it.
To turn that chain into fabric, work single crochet stitches into it:
- Skip the chain nearest the hook and insert the hook into the second chain from the hook.
- Yarn over and pull a loop back through the chain. You now have two loops on the hook.
- Yarn over again and pull through both loops. One loop remains on the hook: that’s one single crochet.
- Make one single crochet in each remaining chain, including the last one.
If you made 13 chains, you should have 12 single crochets at the end of this first row. That one-stitch difference is expected because you skipped the first chain. Lion Brand’s single-crochet instructions show the hook placement and loop sequence if you want to compare your hands with illustrations.
For the next row, chain one and turn the piece as though you’re turning a page. Find the first stitch below your hook by looking for its top V. Insert the hook under both strands of that V and make a single crochet. Continue across, putting one single crochet in each stitch. In this simple pattern, the chain-one turning chain brings your hook up to the new row’s height; it does not count as a stitch, and you don’t work into it on the way back. Count 12 stitches again at the end.
The first row is often the most awkward because foundation chains are small and can twist. Once you’re working into the V-shaped tops of finished stitches, finding your place usually gets easier.
Make your first square
This is a complete small project, not just a stitch exercise. Use your smooth medium yarn and a hook suited to its label. If you want a dishcloth, use cotton and start with more chains for a larger square; the steps stay the same.
- Make 13 chains.
- Work one single crochet in the second chain from the hook and in every remaining chain. Count 12 stitches.
- Chain one and turn. Work one single crochet under both top loops of each of the 12 stitches. Don’t crochet into the turning chain.
- Repeat Step 3 until the piece is roughly as tall as it is wide. Count your stitches after every row.
A slightly uneven square is still a finished square. To end it, cut the working yarn with a generous tail, draw that tail all the way through the last loop, and snug it gently. Thread each loose end onto the yarn needle and weave it through stitches on the back, changing direction to help secure it. The Craft Yarn Council’s finishing guidance also covers weaving in ends and fixing common edge mistakes.
You don’t need to match an exact finished measurement for a practice square. For a fitted hat or garment, though, size matters: follow the pattern’s gauge instructions and measure a sample before committing to the whole project.
Fix tension without fighting the yarn
Tension is simply how much resistance you put on the yarn as it moves through your fingers. Aim for a steady feed, not a tight grip. You can hold the hook like a pencil or a dinner knife; try each and keep the one that lets your hands relax. Let a little yarn out from the skein before you start a row so you aren’t tugging against it with every stitch.
If the hook won’t slide into your stitches, first check that you’re inserting it under the top V rather than trying to pierce a strand of yarn. Then loosen your hold on the working yarn and make the loops on the wider shaft of the hook, not its tip. A foundation edge that draws in or puckers may simply have been chained too tightly. Remake it more loosely, or make the starting chain with a larger hook before switching back to your project hook—a fix noted in the Craft Yarn Council’s troubleshooting guide linked above.
If the fabric looks unusually open or floppy, check that you’re using the hook recommended for your yarn. Try holding the working yarn a little more consistently rather than pulling every completed stitch tight. For a project that must fit, measure a gauge swatch: more stitches than the pattern calls for in the same span means trying a larger hook; fewer means trying a smaller one.
Uneven sides are often a counting problem, not a tension problem. If your square grows wider, you may be working twice into a stitch at the edge or mistaking the turning chain for a stitch. If it gets narrower, you’re likely missing the first or last stitch. Pause at each row end, spread the fabric gently, and count the V shapes across the top. It’s much easier to undo one row than to discover the mistake ten rows later.
Once you can keep a small square close to square, choose your next project by what you want to use: a larger cotton dishcloth for more row practice, or a narrow scarf for a longer run of the same stitch. Your first square doesn’t have to be neat to have done its job. It has to show you where the stitches are.