A smooth paint job is often decided before the color goes on. A seam that feels minor under your fingertip can stand out under gloss paint; a heavy first coat can bury the detail you spent hours assembling. Neither a finer brush nor a better airbrush will fix those problems.
The reliable approach is to clean and inspect the model, use primer where it helps, and build color in thin layers. A brush can produce an excellent finish, and an airbrush can produce a poor one. The better choice depends on the surface you’re painting, the finish you want, and how much setup you’re willing to do.
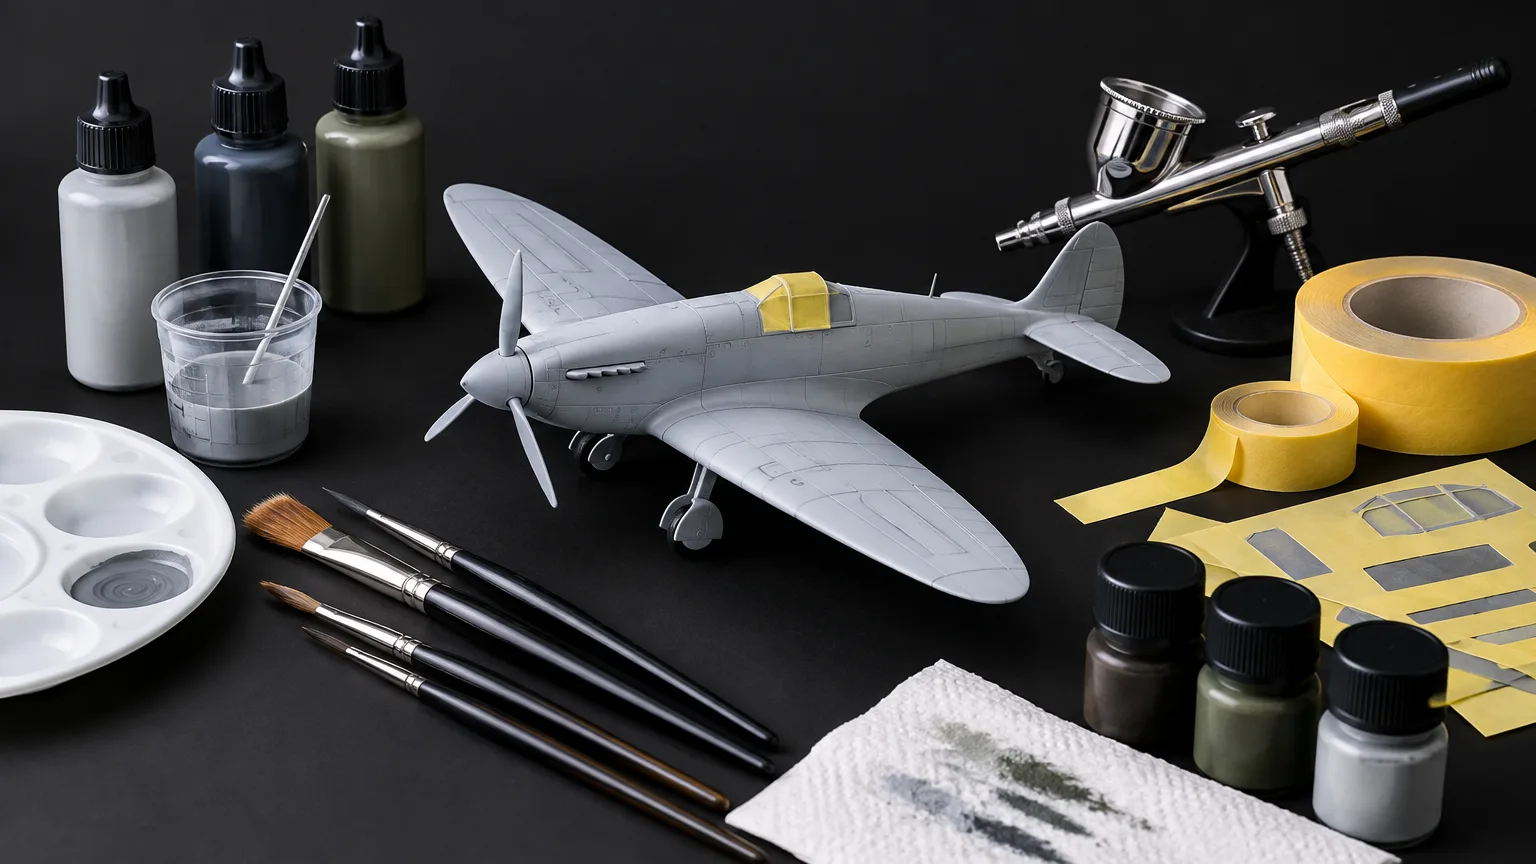
Prepare the model before opening the paint
Finish the work that will be hard to reach later. Remove sprue marks, fill visible gaps, sand repaired areas smooth, and check seams under a strong light. Test-fit parts you plan to paint separately: a thick coat on a tight locating pin or mating edge can make final assembly awkward.
Wash parts that may carry mold-release residue, sanding dust, or skin oils with mild dish soap and water. Rinse well and let them dry fully. Handle cleaned surfaces by an unpainted edge, a temporary holder, or disposable gloves. Vallejo’s primer instructions call for a degreased surface and recommend washing the piece with neutral soap before priming.
Think through the paint order before attaching every part. An aircraft cockpit is easier to paint before the fuselage closes; a car body is easier to polish without mirrors and door handles in the way. But don’t leave so many tiny parts loose that you have nowhere clean to hold them. A clip, skewer, or temporary attachment point is useful only if it keeps fingers off the painted face.
Prime for a purpose, not just out of habit
Primer gives you a consistent starting color and makes flaws easier to spot. It’s especially useful over mixed materials—plastic beside putty or metal, for example—and beneath light colors that would otherwise struggle to cover a dark surface. Choose a primer labeled for the material you’re painting, and check the paint maker’s instructions when combining different product lines.
Gray is a forgiving inspection color. White helps keep pale yellow, white, and other bright finishes lively. Black can suit a dark scheme or provide a base beneath certain metallic finishes. These are choices about the final appearance, not rules that override a particular paint’s directions.
Apply primer just thickly enough to make a continuous coat. A primer that pools around rivets and panel lines is no improvement over bare plastic. Once it has dried as directed, inspect it under angled light. If a seam remains visible, repair it now rather than hoping the color coat will hide it. If the surface is rough, let the primer dry thoroughly before lightly smoothing it with fine abrasive and removing the dust. Tamiya’s fine surface primer guidance notes that its product can fill small scratches and be wet-sanded before painting; don’t assume every primer behaves the same way.
Choose the tool by the job
A brush is the sensible starting point for cockpits, figures, tools, raised details, and small color changes. It needs little setup, wastes little paint, and lets you correct a missed edge immediately. It can also cover a whole model, though a broad, glossy surface demands careful paint handling and patience.
An airbrush earns its place on large wings, tank hulls, car bodies, and soft-edged camouflage. It lays down fine coats without dragging a brush across the surface and makes controlled shading easier. The trade-off is real: you need a compressor, a place to spray safely, masking, practice, and prompt cleaning.
For many builds, the answer is both. Airbrush the primer and broad colors, then brush-paint the smaller parts and touch-ups. If you’re deciding what to buy first, don’t buy an airbrush to solve rough seams, dirty parts, or impatient recoating. Fix the process first.
Brush-paint without leaving ridges
Use a brush large enough to cover the area efficiently. A tiny detail brush on a broad wing forces dozens of overlapping strokes; a soft, wider brush can lay down a more even film. Stir or shake the paint as its manufacturer directs, then place a small amount on a palette rather than working from the jar.
Thin the paint until it flows off the brush without forming a watery puddle. With a water-thinnable acrylic, start with a small addition of water or the recommended thinner. Revell, for example, says its Aqua Color can be thinned with water for brushwork, while recommending its dedicated mix for airbrushing. That advice is specific to Aqua Color; “acrylic” on a label does not mean every model paint should be thinned the same way.
Load the brush, remove the excess, and spread the paint in deliberate strokes. Stop going back over an area once it begins to set. The first coat may look uneven, especially over primer of a contrasting color. Let it dry, then add another thin coat. Two or three controlled passes are usually more useful than one heavy pass that holds brush marks and fills detail.
Airbrush for even coverage
Before spraying the model, test the paint on a spare part or plastic spoon primed the same way. Adjust the mixture and air pressure until it produces a steady, fine pattern rather than droplets or dust. There is no universal pressure or thinning ratio: paint formulation, needle size, distance, and the finish you want all matter.
Keep the airbrush moving. Start the spray just off the part, pass across it, and release after clearing the edge. Overlap passes slightly. A first pass need not hide the primer; build coverage with light coats, giving each one time to lose its wet sheen. Watch corners and recessed areas, where it’s easy to linger and flood the surface.
Paint sold for airbrushing may need little or no thinning, while brush-formulated paint may need substantially more. Vallejo’s Model Air information gives a product-specific starting ratio of one part Airbrush Thinner to three parts paint, while also describing direct airbrush use. Treat a stated ratio as a starting test, not a prescription for other brands.
If paint dries on the needle tip, stop and clean the tip rather than compensating with a wetter coat. If the finish feels gritty, the paint may be drying before it reaches the model; if it runs, you’re depositing more than the surface can hold. Change one variable at a time—distance, pressure, thinning, or how long you pause over the part—so you can tell what worked.
Thin paint to control the coat
“Thin coats” describes what lands on the model, not merely what’s in the cup or on the brush. Paint can be thin in the palette yet applied too heavily. Conversely, too much thinner can leave weak coverage, staining, or paint that creeps into recesses.
Match the thinner to the paint. Water may be suitable for some water-based acrylics, while enamels and lacquers require the thinner specified for their formulations. Don’t mix different paint types in the jar simply because they can be applied in separate, fully dried layers on a model. For airbrushing Revell Email Color enamels, the maker specifies enamel thinner rather than water.
Mix a small test batch before thinning an entire bottle. If a brush coat beads up or breaks apart, first check that the surface is clean; adding still more water may make matters worse. If an airbrush sputters, check for a blocked tip or poor mixing before assuming the paint needs more thinner.
Mask only when the paint beneath can take it
Masking turns a clean color plan into a sharp paint job, but tape is also a test of the layer underneath. Let the base color dry sufficiently for the product you used, then try the tape on an inconspicuous spot if the finish is delicate. Use narrow model-making tape to define the edge and larger pieces of tape, paper, or film to cover the rest. Press down the edge without grinding the adhesive into the paint.
Spray light passes across the masked area rather than aiming a wet stream directly into the tape edge. For a brushed stripe, work away from the edge where practical. On a troublesome surface, a very light coat of the base color along the tape edge can seal tiny gaps before you add the new color; test this method first if the finish matters. Golden Artist Colors’ hard-edge guidance likewise favors thin, even coats and describes pulling tape back at a sharp angle for a cleaner edge.
Remove masking carefully, supporting nearby parts as you go. Don’t leave tape on a model longer than the job requires, but don’t pull it through paint that is still wet enough to smear. If a paint ridge bridges tape and model, lightly score that edge with a sharp blade before lifting the tape—without cutting into the surface below.
Give each layer the right kind of drying time
A coat can be dry to the touch but not ready for tape, handling, polishing, or a solvent-based wash. Drying also changes with coat thickness and room conditions. The safest schedule is the one on your paint and primer labels, checked against a test piece when the next step could damage the finish.
Product-specific guidance shows why a single “model paint drying time” is misleading. Revell describes its Aqua Color as touch-dry after roughly 15–30 minutes, with longer waits for further work and full curing. It recommends about 24 hours before masking over its Email Color enamel. Those are useful examples, not interchangeable rules for every acrylic or enamel.
Set painted parts somewhere dust won’t settle on them and avoid handling visible surfaces while they cure. Before a demanding step—masking a gloss car body, polishing paint, or applying a wash—an extra wait is usually cheaper than stripping and repainting a damaged coat.
Keep spray work out of your breathing space
An airbrush produces airborne paint even when you’re spraying water-based color. Work with effective ventilation that removes overspray from the room; don’t spray in a closed space or toward other people. Check the paint, thinner, and primer labels for their handling requirements, especially with aerosol cans and solvent-based products. NIOSH’s paint-coating ventilation guidance favors local exhaust for repeated spray work and notes that any respirator should be selected for the materials being used.
The best finish is built in stages: sound surface, suitable primer, controlled color, and enough drying time before the next operation. Start with a spare part if a paint or technique is new to you. It’s a small test that can save the most visible part of the model.