A good home strength program doesn’t need a bench, a rack, or a collection of weights. It needs a way to make a few basic movements challenging, then a plan for making them a little harder as you improve.
Start with two full-body sessions a week. Practice sitting down and standing up, bending at the hips, pushing, pulling, and keeping your torso steady. That covers far more useful ground than doing a different workout video every day. The American College of Sports Medicine’s resistance-training guidance supports bodyweight exercises, elastic bands, and home-based routines as effective options; consistency matters more than complicated equipment or training methods.
Choose equipment that solves a problem
For your first few workouts, a sturdy chair, a clear patch of floor, and a stable wall or countertop are enough to practice most movements. If you buy one thing, make it a long resistance band. It gives you a practical way to train your back with rows—a movement that’s harder to do well with body weight alone at home.
Choose a long band you can hold at both ends, rather than only a small loop band worn around the legs. You can use it without a door anchor by wrapping its middle around the soles of your feet for a seated row. Check the band for wear before each session, keep it from slipping off your feet, and use a level of tension you can control. Harvard Health’s seated band-row instructions show the basic setup.
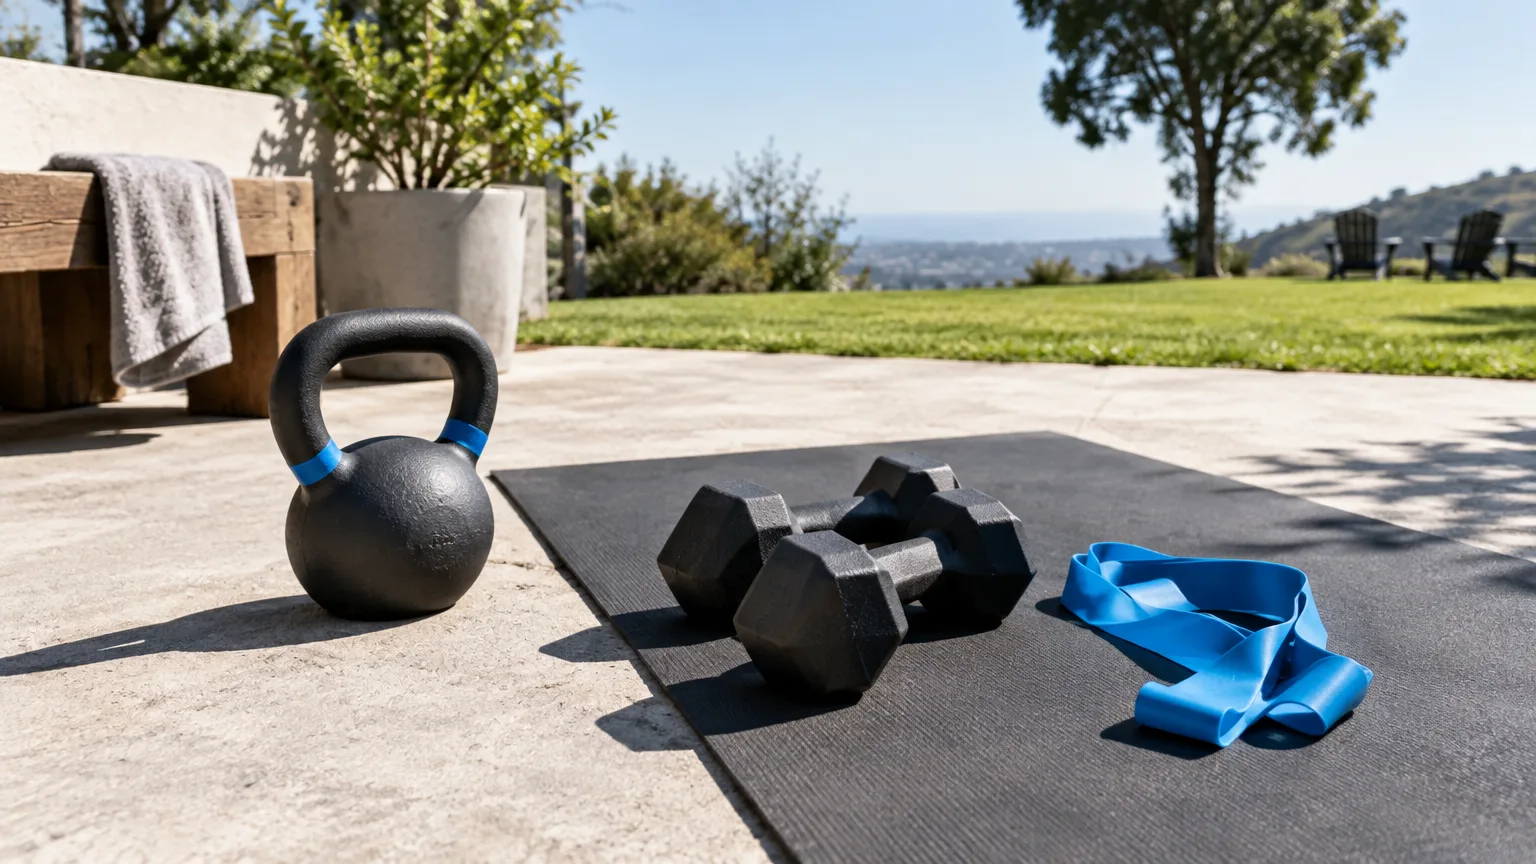
If you want another piece of equipment later, consider an adjustable dumbbell or a pair of weights you can use for rows and hip hinges. Don’t buy based on what looks challenging in the store. A weight should be manageable through the full movement, including the slow trip back down. You can also start with a securely closed backpack containing a few books, provided you can grip and lift it safely.
A mat is optional. So are a pull-up bar, a weight bench, and an app subscription. Add equipment when you can name the exercise it will improve, not because you feel a home workout ought to look like a gym.
Learn five movements before chasing harder workouts
The first goal is to find versions you can repeat with control. The descriptions below are starting points, not rules about how every body should move. Use a comfortable range of motion and stop a set when your form starts to change.
Squat: sit down and stand up
Place a sturdy chair behind you. Stand with your feet at a comfortable width, bend your knees and hips, touch the seat lightly, then stand. Try not to drop onto the chair or throw your torso forward to get up. If you need the armrests at first, use them.
As this becomes easier, stand from a lower seat if it’s stable, pause just above the chair, or hold a weight close to your chest. The aim is to make your legs work harder—not to force a deeper squat than you can control.
Hinge: move at the hips
Stand with soft knees and push your hips backward, letting your torso tip forward while keeping the weight close to your legs if you’re holding one. Stand tall again. Think of reaching your hips toward a wall behind you rather than bending mostly at the waist. ACE’s hip-hinge guide offers a useful breakdown of the pattern.
Practice without weight first. Once you can feel the work in your hips and the backs of your legs without rounding or straining your back, try a light backpack or dumbbell. If standing hinges don’t feel comfortable, start with glute bridges on the floor: knees bent, feet planted, lift your hips, then lower them with control.
Push: work at an angle you can manage
Put your hands on a stable countertop or wall, walk your feet back, and keep your body in a straight, comfortable line as you bend and straighten your elbows. A wall push-up is easier; a countertop push-up is harder. Move to a lower, secure surface only when you can complete the higher version without your hips sagging or your shoulders hurting.
There’s no prize for getting to floor push-ups quickly. An incline lets you practice the same basic push while choosing a useful level of effort. MedlinePlus’s indoor fitness guidance also suggests wall or counter push-ups as alternatives when floor push-ups are too difficult.
Pull: bring resistance toward you
For a seated band row, sit tall with your legs comfortably out in front of you. Place the middle of the band around the soles of your feet and hold an end in each hand. Pull your hands toward your lower ribs, then let your arms straighten slowly. Keep the band securely against your feet throughout the set; don’t jerk your torso backward to finish a rep.
If you have a dumbbell, a one-arm row is another option. Support your free hand on a sturdy counter, bend at the hips, and pull the weight toward your hip. A row belongs in this plan alongside push-ups so your back gets direct work, too.
Brace: keep your torso steady while your limbs move
Try a bird-dog on hands and knees. Reach one leg behind you, then return it; if you can stay steady, reach the opposite arm forward at the same time. Move slowly and keep your hips from twisting. ACE’s bird-dog instructions emphasize lifting your limbs only as far as you can without losing control of your lower back. If kneeling bothers your joints, practice a standing version with one hand resting on a counter.
After these movements feel familiar, add a supported split squat or step-back lunge for more single-leg work. Hold a counter for balance and take a short, comfortable step. You don’t need it on day one.
Put the movements into a two-day plan
Train on two nonconsecutive days—Monday and Thursday, for example—so you have time to recover between full-body sessions. The CDC recommends muscle-strengthening activity on at least two days a week, covering the major muscle groups. Strength sessions complement, rather than replace, aerobic activity such as brisk walking.
Before each workout, spend about five minutes walking in place and making easy versions of the movements you’re about to do. Then follow the same routine on both days:
| Exercise | Starting target |
|---|---|
| Chair squat | 8–12 controlled repetitions |
| Unweighted hip hinge or glute bridge | 8–12 repetitions |
| Wall or countertop push-up | 6–10 repetitions |
| Seated band row or supported dumbbell row | 8–12 repetitions |
| Bird-dog | 5–8 slow repetitions per side |
In weeks one and two, do one set of each exercise. Rest long enough between exercises to feel ready for the next one—often around a minute, though you can take longer. You should finish most sets feeling as if you could do a couple more good repetitions. If the listed number is too much, do fewer; clean reps matter more than hitting a target.
In weeks three and four, try two sets of each exercise if you’re recovering well. This should still fit into a manageable home session, not turn into an endurance test. An 8-to-12-repetition range is a useful starting point, and NIH strength-training advice recommends working the major muscle groups while allowing recovery between sessions that train the same muscles.
Write down the version you used, your sets, and your repetitions. “Counter push-up: 2 × 8” is enough detail to make your next session purposeful. You don’t need to track calories or finish every workout exhausted to tell whether the plan is working.
Make it harder one step at a time
Progression means asking your muscles to do a little more over time. It doesn’t mean changing every exercise each week. If you complete two sets of 8 chair squats with good control, aim for 9 on your next workout. When you can comfortably do two sets of 12, choose one small change: hold a light weight, slow the lowering phase, or use a slightly harder variation.
Apply the same idea elsewhere. Walk your feet farther from the wall for push-ups, then move to a stable countertop. Use a firmer band or more tension for rows. Add a modest load to hinges once the movement feels natural. Change only one thing at a time so you can tell how your body responds.
Difficulty should come from the intended exercise, not from losing your balance, holding your breath, or rushing through repetitions. You also don’t need to train until you physically cannot do another rep. The ACSM guidance favors a gradual, sustainable approach over advanced techniques for most healthy adults.
If a session leaves you unusually sore, repeat the same level next time or scale it back. Some muscle soreness can happen when you start, but sharp pain is a reason to stop that movement. MedlinePlus advises warming up, increasing exercise gradually, and not pushing through pain. Seek medical attention for symptoms such as chest pain during or after exercise.
Once two days feel routine, you can keep them: they’re a sound foundation. If you want a third day, add it between rest days and begin with less work than you think you need. A home program succeeds when you can return to it next week, see what you did last time, and make one sensible improvement.
Disclaimer
This article offers general fitness information, not individualized medical advice. If you have a health condition, an injury, or symptoms that make exercise uncertain, ask a qualified health professional how to adapt the plan.